Multimeter setting for measurement (Open and short, 2025)
Before working with a multimeter it is essential to check that the multimeter we are using is accurate and efficient. For this we do multimeter setting for measurement.
The open and short testing has been done to check whether our multimeter is working fine or not. Connect the probes to the multimeter and the multimeter’s resistance mode or Ohm mode must be set. Now leave the probes as it is or open, if the multimeter shows OL or 1 the meter is working fine. For short testing we connect the probes, in this case, for a good multimeter, the multimeter should show zero resistance.
In this article, we’ll learn a multimeter setting for measurements, specifically focusing on open and short testing.
Multimeter setting
Understanding a multimeter’s fundamental parts and features is crucial before getting into open and short testing.
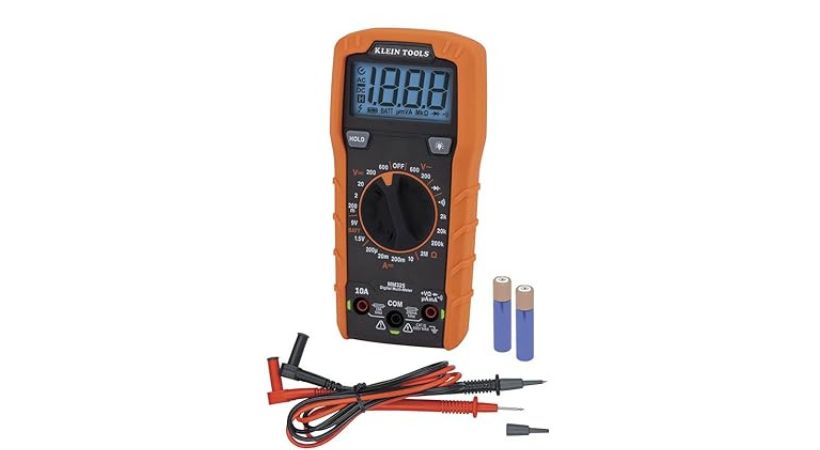
A selector dial or buttons, two probes—one black and one red—and a display screen are the standard components of a multimeter.

They test continuity, resistance, voltage, and current, among other measurement functions.
Digital multimeters present readings as numbers on a digital display, whereas analog multimeters use a needle.
If you want to learn in detail about multimeter parts and functions check our article:
We need to do multimeter setting for measurement to ensure accurate readings and safe operation.
For setting and checking the multimeter some tests are performed to check the efficiency of the multimeter.
The first step is to set the multimeter. Below is a step-by-step guide:

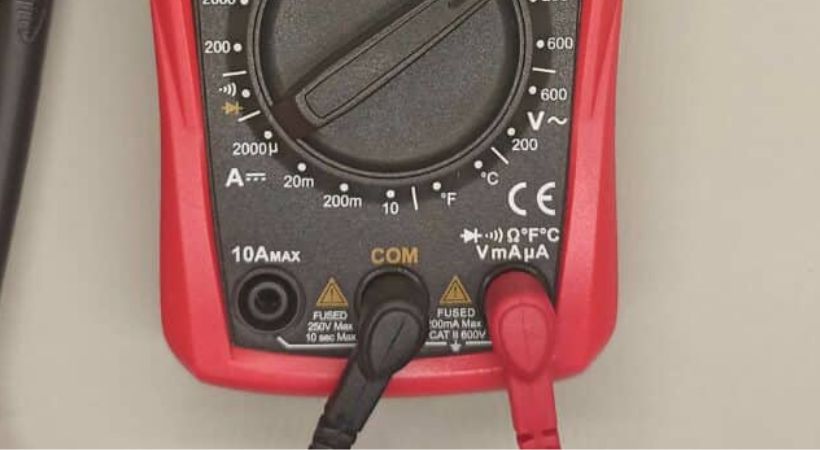
- Take out your multimeter and connect the probes to the appropriate sockets.
- You’ll use the black probe for the common (COM) terminal and the red probe for the terminal-specific measurement function
- If your multimeter has a power button, turn it on. Some multimeters may turn on automatically when you plug the probes into the appropriate sockets.
- Determine what parameter you want to measure (e.g., voltage, current, resistance). Most multimeters have a selection dial or buttons labeled with different measurement functions.
- In our case, we want to test the multimeter so rotate the selection dial to select Ohm mode. It is represented by (Ω).
This is how you will set your multimeter for measurements. To check whether our multimeter is working fine and will provide accurate results we perform two tests: Open and short testing.
Let’s talk about these two tests in detail.
1. Open circuit testing
In the above step, you have already set the multimeter for open-circuit testing. Now how will you perform the test let’s discuss this.

- After connecting the probes and setting the multimeter on resistance mode.
- Now leaving the probes untouched, means they should not be connected to any point in the circuit and should also be not touching each other.
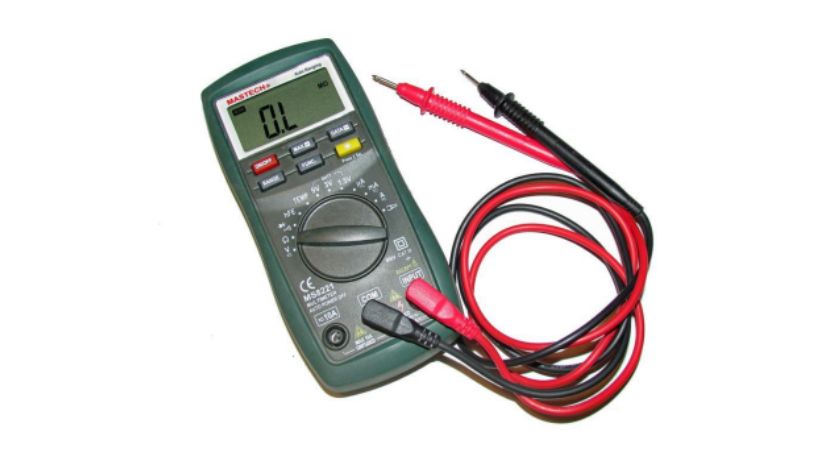
- The multimeter shows the “OL” (overload) or 1, which means the multimeter is in good shape and will provide accurate results.
- The open circuit test can also be performed when the multimeter is in continuity mode.
- If you don’t hear a beep it means there is no short circuit and the multimeter is accurate.
When you are looking for an open circuit in the circuit, you can also follow these steps but you have to connect the probes across the suspected points.
So by following these steps, you can effectively test for open circuits using a multimeter, helping you diagnose and troubleshoot electrical issues in circuits and components.
2. Short circuit testing
The other test is the short circuit test, the short circuit means there is an unrequired connection within the multimeter or circuit. The setting for this test is the same as the open circuit test. Now the steps you follow are

- The multimeter is set to the resistance mode and probes are connected.
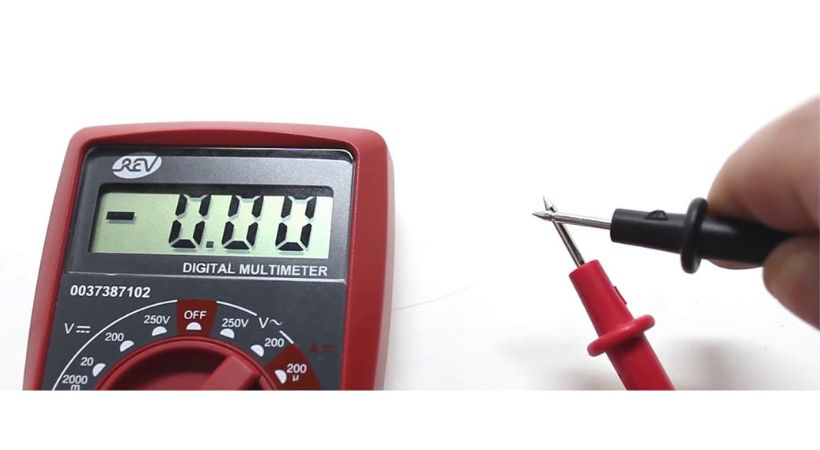
- Now you to do is to touch the black and red probes with each other.
- If the multimeter shows zero resistance, it means there is no short circuit and the multimeter is good to perform further measurements.
- This test can also be done using continuity mode.
- When you hear a beep sound after touching the probes with each other then the multimeter is accurate and good.
These are some steps or producers to perform short circuit testing for multimeters.
Using these steps you can also test electronic circuits for short circuits but during this process, you have to connect the probes across the point that you suspect can be short-circuited.
Safety precautions
When conducting short and open testing with a multimeter, it’s crucial to prioritize safety to avoid potential hazards. Here are some safety precautions to keep in mind:
- Wear appropriate personal protective equipment, such as insulated gloves.
- Make sure the multimeter is turned on.
- Inspect the test leads for any signs of wear, damage, or exposed wires.
- It is important to set the multimeter to the appropriate mode for testing.
- Two modes resistance and continuity mode are used for open and short circuit testing.
- Work in a clean and well-lit environment free from clutter and distractions.
- Handle the multimeter and test leads carefully to avoid damaging them.
By following these safety precautions, you can mitigate risks and ensure a safe testing environment when performing short and open testing with a multimeter.
Conclusion
The proper setting of the multimeter is essential for getting accurate and effective results of various electrical parameters for circuit design.
Short and open circuit testing is the standard test for testing multimeter accuracy and effectiveness.
The resistance and continuity modes can be useful for open and short-circuit tests. Set the multimeter to resistance mode and connect the probes to the multimeter.
For the open test, when the probes are untouched, the multimeter will show “OL” or 1 which means the multimeter is good.
When the probes are touched for a short circuit, the multimeter shows zero resistance. In the continuity mode the multimeter beep for short circuit and no beep sound for open circuit.
If the multimeter shows results other than the above-mentioned results, it means the multimeter is good for further testing process.
This is how you set and test the multimeter for other measurements to ensure the correct results.
This is it for the multimeter setting for measurement, I hope it will be helpful.
Thank you and stay blessed…
Other useful posts:
