
Having a complete breadboard circuit prototype lab is crucial for implementing your ideas, conducting tests, and improving designs whether you’re a hobbyist, student, or professional.
To set up a lab for creating or testing projects using a breadboard, you need to follow several steps. First, understand the basics of breadboards and circuit prototyping. Next, identify the components required to set up the lab. Prioritize safety by understanding and implementing safety precautions, and ensure you have the necessary safety equipment when building a workspace for breadboard circuit prototyping.
In this article, we’ll talk about lab setup for circuit prototyping from scratch, covering essential equipment, organization tips, and safety considerations.
Lab setup for circuit prototyping
Building circuit prototypes should be a hassle-free and flawless procedure, which requires setting up an orderly and well-equipped lab.
The first step of lab setup for circuit prototyping is to learn what is breadboard circuit prototyping and why it is important.
Breadboard circuit prototyping is a fundamental method used in electronics to design, build, and test circuits without the need for soldering.
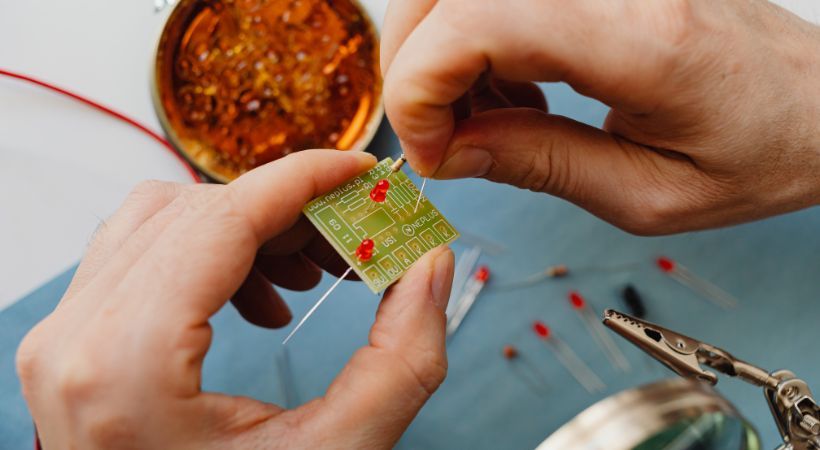
The breadboard circuit prototyping involves a breadboard that has small holes to insert and connect different electronic components and create amazing electronic projects.
The holes in the breadboard are arranged in rows and columns. The rows are part of the breadboard where we build our circuit.
The breadboard provides flexibility, allowing rapid experimentation and iteration of circuit designs without the need for soldering. For beginners, this is one of the excellent tools to learn about electronics.
If you want to learn more, check the article:
You have some idea of what is breadboard circuit prototyping, and now understand what components will be required to set up a lab for your breadboard circuit prototyping.
Essential equipment and tools
To set up lab for circuit prototyping you need some equipment and tools. Let’s discuss what types of tools you will require for lab setup.
1. Breadboard
For any prototyping lab, the breadboard is the foundation. They come in various sizes, including standard and mini breadboards, to accommodate different project sizes and complexities.
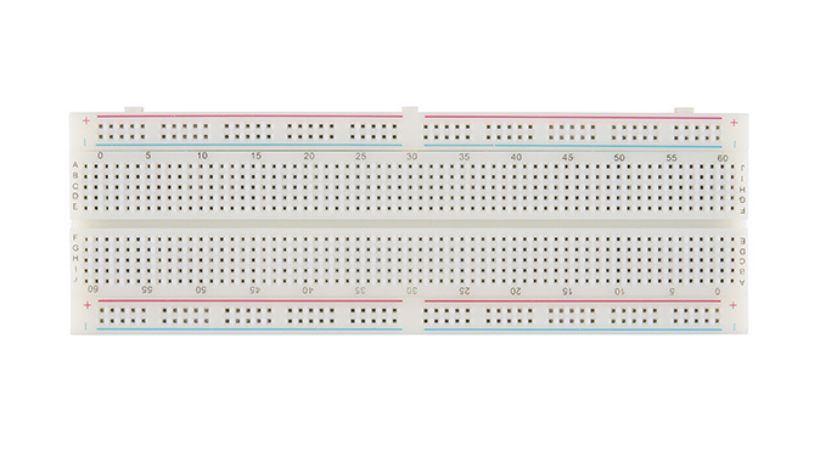
The standard breadboard offers more tie points (holes where components are inserted) as compared to the mini breadboard but the mini breadboards are more compact and portable.
Make sure you have different-sized breadboards at your lab to test and verify various projects.
2. Electronic components
The thing is gathering various electronic components as you will need components to build a circuit.
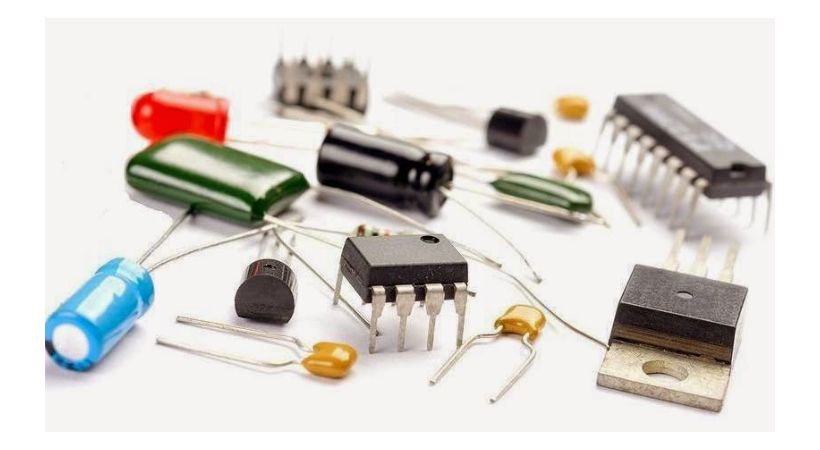
Basic electronic components like resistors, capacitors, transistors, LEDs, and integrated circuits are required to make a circuit.
Keep the different values of resistors, capacitors, and transistors so that when you are designing a circuit all components will be available and the designing process will be smooth.
3. Multimeter
A digital multimeter (DMM) is a versatile tool for measuring voltage, current, resistance, and continuity in circuits.
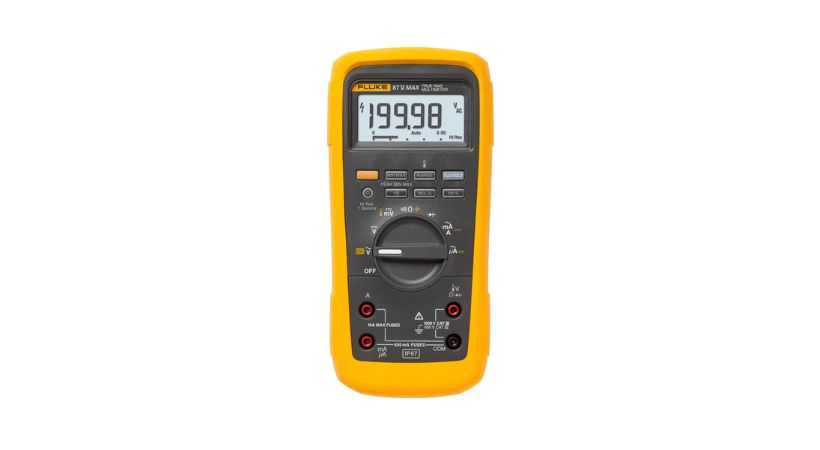
The multimeter has different types such as analog and digital. The digital multimeter is more convenient and easy to use because of its digital display.
The multimeter is indispensable for troubleshooting circuits, verifying component values, and ensuring proper operation. Make sure you have a multimeter at your lab.
If you need multimeter for you lab, check out our article:
4. Power supply
The power supply is the tool that provides voltage to the circuit so it can operate.
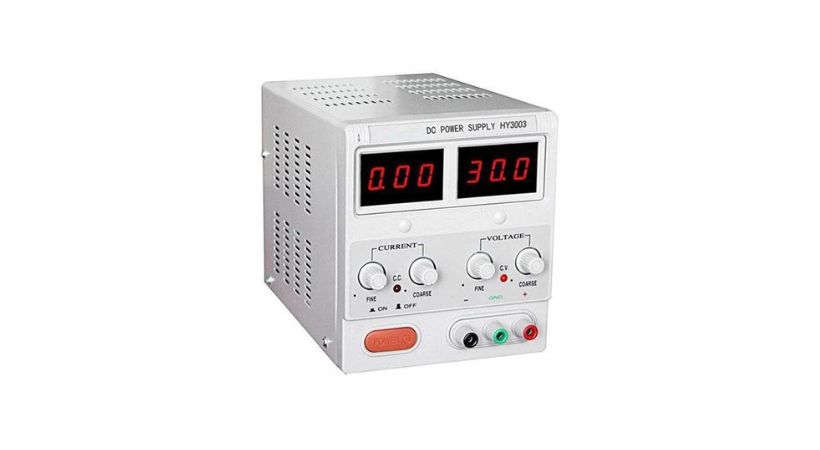
A stable power supply is essential for providing voltage to circuits. You will be testing different circuits with various voltages so a power supply is must need an item in the lab.
Choose a power supply with appropriate voltage and current ratings based on the needs of your circuits.
5. Wire strippers and cutters
Wire strippers and cutters are essential tools used to remove insulation or cut wires.
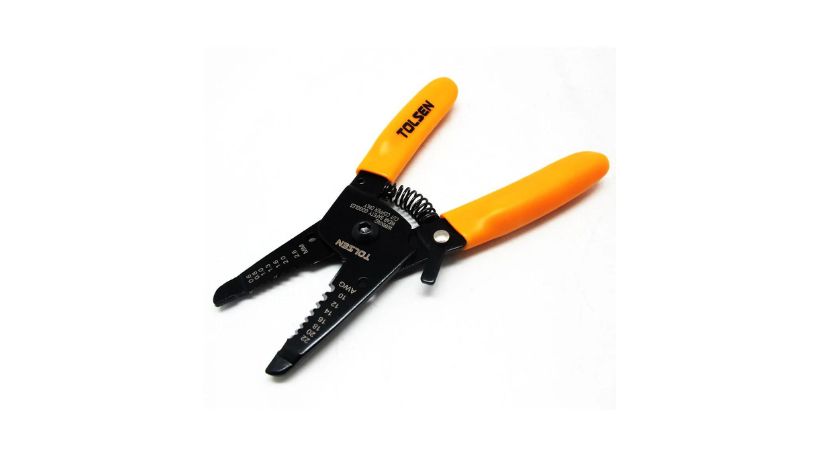
Wire strippers are used to removing insulation from wire ends, exposing the conductive metal for connection. Wire cutters are used to trim wires and component leads to the desired length for neat and precise connections.
You may think that these tools are not that important but you are wrong, make sure these tools are present in your lab to cut or trim the connecting wires.
6. Components organizer
To maintain a tidy and efficient workplace components organizers and tools are essential.
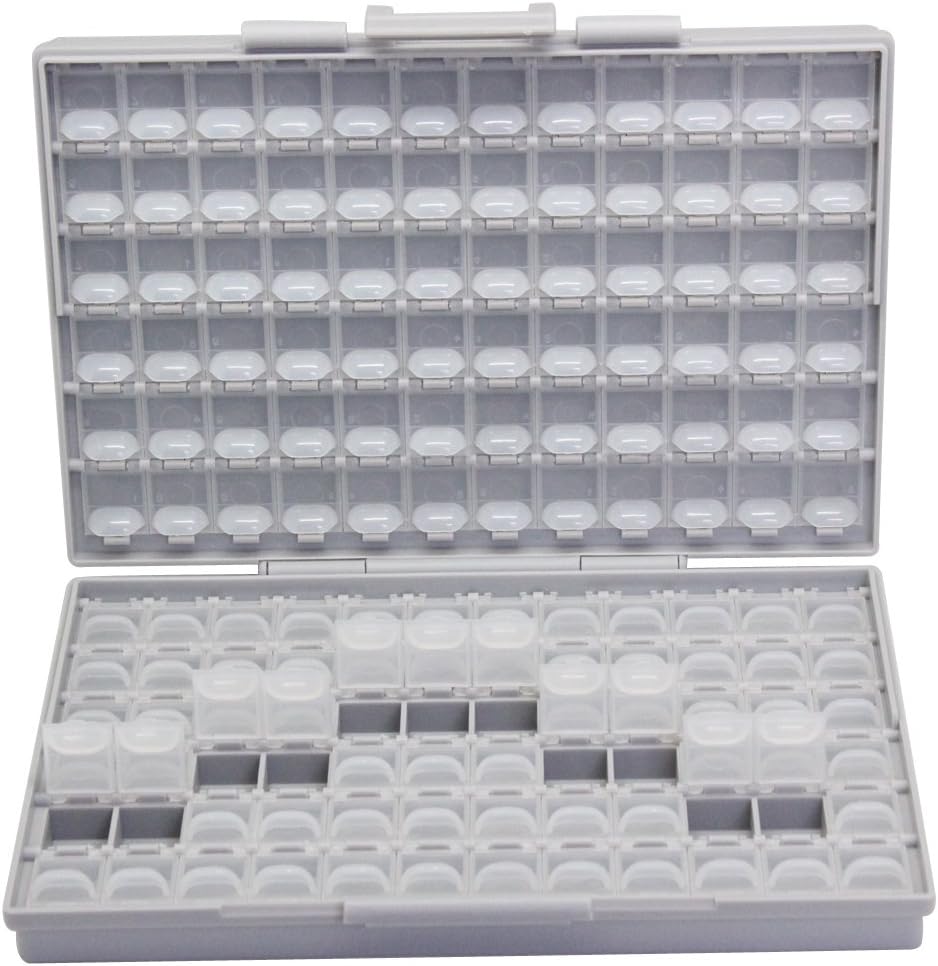
Use storage containers, drawers, or cabinets to categorize and store components, wires, tools, and accessories. This helps in creating a clean and well-organized lab.
Label the containers or compartments to quickly locate specific items during prototyping sessions.
7. Workbench or desk
A dedicated workbench or desk provides a stable and effective platform for prototyping activities.
Ensure the workspace is well-lit and adequately ventilated for comfort and safety.
8. Safety equipment
Personal safety is paramount when working with electronics, especially when dealing with higher voltages or currents.
Safety glasses protect eyes from potential hazards such as flying debris or solder splashes.
Keep the safety equipment with you or near you to make safety priorities.
9. Other accessories
Keep the other accessories like soldering, soldering stand, flux, and cleaning tools in case you need permanent electrical connections.
A soldering iron is used to melt solder, creating a strong and permanent electrical connection between components and conductive pads.
Setup the lab
Up till now, you have understood the breadboard prototype and what are the necessary tools you will need.
We have discussed each tool in detail, it’s time for lab setup for circuit prototyping.
Arrange equipment, tools, and workspace in a manner that promotes efficiency, organization, and comfort. When designing the lab plan, take accessibility, design, and workflow optimization into account.
Conclusion
Lab setup for circuit prototyping is the first step towards embarking on a journey of exploration and innovation in electronics.
The breadboard is the essential component in electronics to design or test the various circuits. It allows hobbyists, students, and professionals to learn and understand circuit performance.
To set up the lab you need to gather all the needed components and tools. The tools that should be present in your lab are as follows.
- Different size breadboards
- Various electronic components
- Power supply to provide voltage to the circuit
- Multimeter for testing purposes
- Wire stripper and cutter for removing insulation and cutting the wire
- Components organizer to organize different components for easy accessibility
- Safety equipment for the safety
By assembling the right equipment, and organizing your workspace effectively, you can create an environment conducive to creativity, learning, and experimentation.
The breadboard lab will serve as your playground for turning ideas into reality and unlocking the boundless possibilities of electronics.
This is all about lab setup for circuit prototyping, I hope this will help you create a well-organized lab.
Thank you and stay blessed…
Other useful posts: