Capacitor measurement using multimeter (Beginners, 2025)
If you’re a beginner in the field, understanding how to measure capacitor values is an essential skill. If we talk about capacitor measurement it means we’re talking about the measurement of capacitance.
The digital multimeter is a simple and common tool used to measure the capacitance. The multimeter has function capacitance mode, you have to set the multimeter to that mode and connect the leads or probes of the multimeter across the capacitor. Remember that you have to discharge the capacitor before connecting the multimeter leads.
We’ll delve into the basics of capacitor measurements, discussing methods, tools, and practical tips for accurate readings in this article.
Capacitor
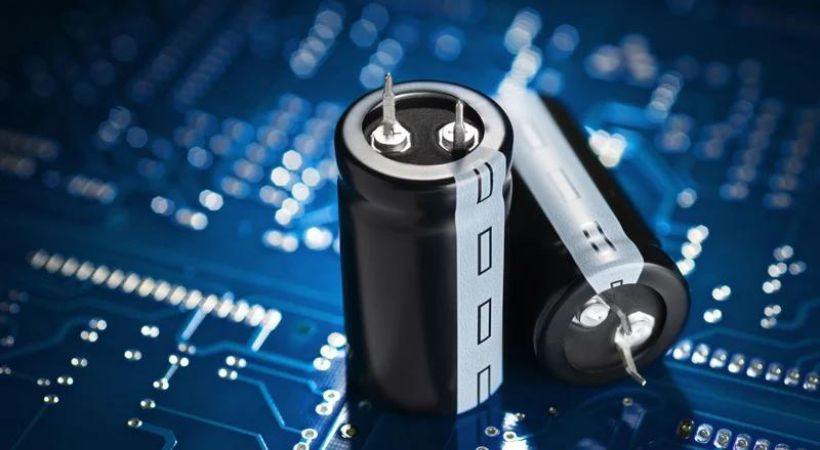
Capacitors are electronic components used to store and release electrical energy.
They consist of two conductive plates separated by an insulating material known as a dielectric.

When a voltage is applied across the plates, an electric field forms in the dielectric, causing electrons to accumulate on one plate and leave the other.
For various purposes, the capacitors are used in electronic circuits such as energy storage, filtering, decoupling, and timing.
The ability of the capacitor to store charges is called capacitance and this is one of the key properties of the capacitor.
Capacitance is measured in farads (F), but in practice, capacitors often have capacitance values ranging from picofarads (pF) to microfarads (μF) or even higher.
We measure the capacitance of the capacitor when we talk about the measurement of the capacitor. Let’s discuss this
Capacitor measurement using multimeter
Measuring the capacitance of the capacitor can be done using various methods, depending on the equipment you have available.
The use of a multimeter is one of the simple methods used by electronic engineers and hobbyists. The multimeter offers different functions to measure different electrical parameters.
The measurement of the capacitance is one of the functions of the multimeter. It consists of a selection dial that allows a user to select the appropriate function for measuring electrical parameters.
Here’s a simple method using a multimeter, which is a common tool for electronics enthusiasts and beginners:
1. Set the multimeter
First, take out your multimeter and check it for any damage. Also, take a good look at multimeter probes.

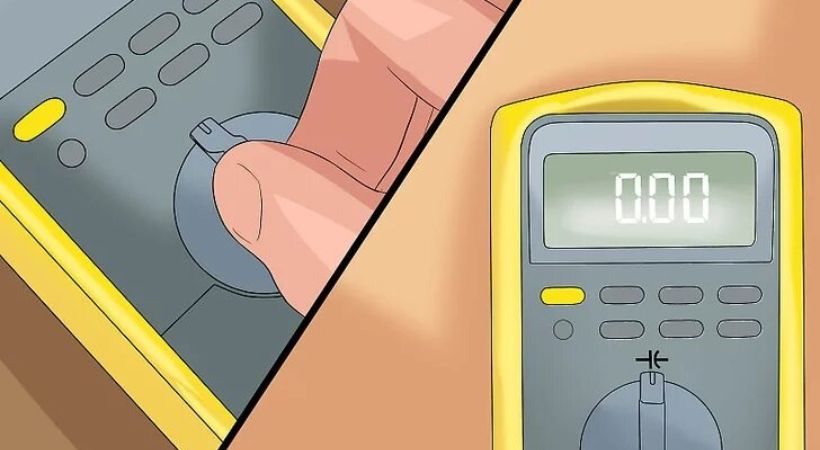
Most multimeters have a capacitance measurement function. Turn on your multimeter and set it to measure capacitance.
This setting is often denoted by a symbol that looks like a few horizontal lines with a wave over the top (representing the plates of a capacitor).
2. Connect the probes
Connect the testing probes to the multimeter. The black one should be connected to the COM jack and the red one to the VΩF jack of the multimeter.
Make sure you connect the right probe to the right jack.
3. Select the range
Now if you are using a manual-range multimeter you have to select the range of the expected capacitance value of the capacitor.
Select the higher range than the expected value. If your multimeter is auto-range, you can skip this step as this type of multimeter selects the range automatically.
4. Turn off the power
Make sure all the power to the circuit is turned off. You can check it by turning the multimeter’s dial to the voltage mode.
If you are working with a circuit, select the AC voltage option, and if a DC circuit select the DC voltage mode.
5. Discharge the capacitor
If the capacitor you want to measure has been in use or connected to a circuit recently, it may still hold a charge.

To ensure accurate measurements and avoid potential damage to the multimeter, you have to discharge the capacitor.
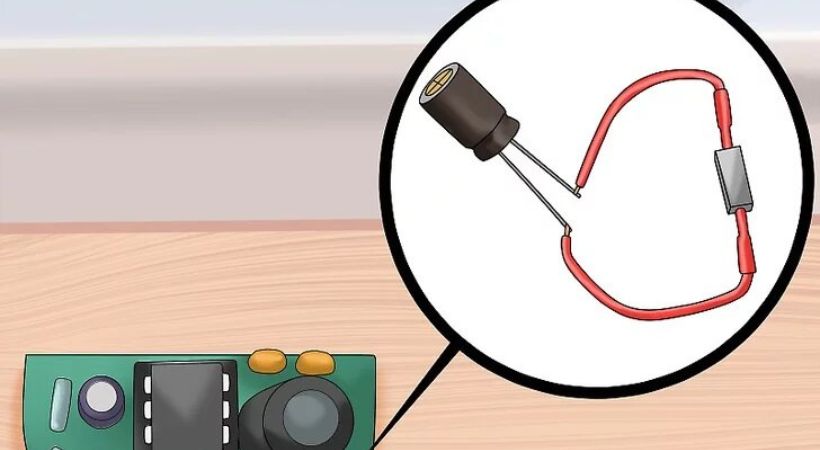
The discharging of the capacitor can be done by connecting a 2000Ω 5-watt rated resistor across it. Within five seconds the capacitor will be discharged.
6. Connect the multimeter
After charging the capacitor now you can measure the capacitance of the capacitor.

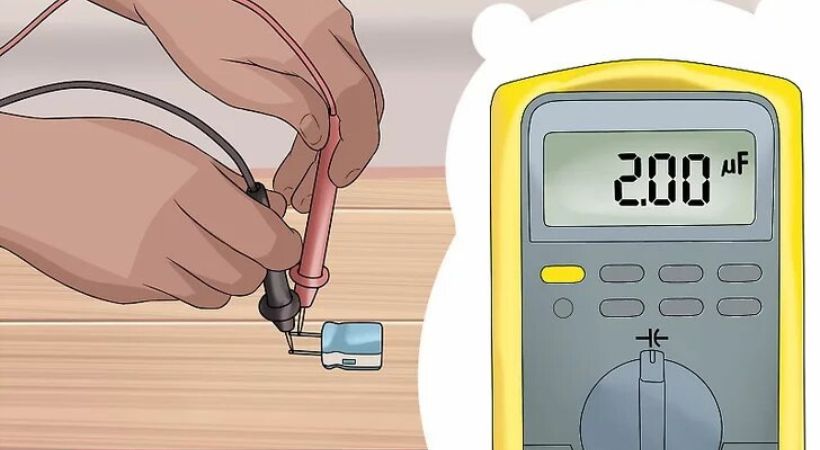
Connect the leads of the multimeter to the terminals of the capacitor. Keep the multimeter connected to the leads for a few seconds to get stabilized readings.
If your capacitor is polarized ensure that you connect the positive lead of the capacitor to the positive lead of the multimeter and the negative to the negative.
7. Read the multimeter display
Once the capacitor is connected, the multimeter should display the capacitance value in farads (F), often in microfarads (μF) or picofarads (pF) depending on the range of the capacitor.
If the value displayed is in a different unit (such as millifarads or nanofarads), you can convert it accordingly.
The display has “OL” on the screen which means the range you have selected is too high or too low, or the capacitor is faulty.
8. Interpret the readings
The reading on the multimeter is the capacitance of the capacitor.
If the capacitor is within its specified tolerance range, the reading should be close to its labeled capacitance value.
If the value is significantly different, it may indicate that the capacitor has degraded or is faulty.
Practical tips
When measuring capacitance, ensuring accuracy is essential for obtaining reliable results.
Here are some practical tips to help you achieve accurate capacitance measurements:
- Always wear personal protective equipment to prevent yourself from any injuries.
- Make sure you choose the range that best matches the expected value of the capacitor you are measuring.
- Before connecting the capacitor to the multimeter for measurement, make sure to discharge it completely.
- It’s a best practice to take out the capacitor from the circuit before measurement.
- When connecting the leads of the multimeter to the terminals of the capacitor, ensure a secure and stable connection.
- If you are measuring the capacitance of a polarized capacitor, Pay attention to the polarity of the capacitor and connect the multimeter leads accordingly.
- After connecting the capacitor to the multimeter, allow some time for stabilization before taking the measurement.
- You can repeat the measurement process multiple times to ensure that the measured reading is correct.
By following these practical tips, you can enhance the accuracy and reliability of capacitance measurements.
Conclusion
The capacitor is the type of electronic component used to store and release electrical energy. The capacitance is the ability of the capacitor to store charges.
We measure the capacitance of the capacitor to know how much charge it can store and release. The multimeter is used to measure the capacitance.
Most of the multimeter has a capacitance measurement option. To select the capacitance measurement mode we have to rotate the selection dial of the multimeter.
The following steps should be followed to measure the capacitance of the capacitor.
- Select the capacitance mode.
- Select the range.
- Insert the probes.
- Discharge the capacitor.
- Connect the probes across the capacitor.
- The result will be displayed on the screen after a few seconds.
You can accurately measure capacitance and ensure the proper functioning of your electronic devices by following the above steps.
Always wear protective equipment to avoid any injury or accidents. I hope this article will be helpful.
This was all about capacitor measurement using a multimeter.
Thank you and have a blessed life…
Other useful posts:
