
The multimeter is an electronic device used to measure various electrical parameters and check the continuity of the circuit.
Resistance or continuity mode can be used to check the jumper wires. In resistance mode, we check the resistance of the wire, and in continuity mode, we hear a buzzer sound for a good jumper wire.
In this article, we’ll discuss in detail how to check jumper wire with multimeter.
Checking jumper wire
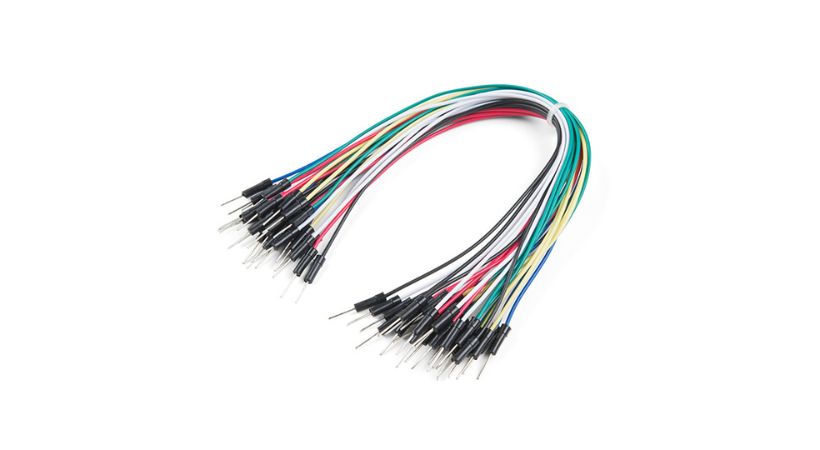
Jumper wires provide an easy and quick means to establish temporary connections between different points in a circuit. They are essential for prototyping and experiments.
Ensuring good working conditions is crucial for the accurate and reliable operation of jumper wires. One of the most effective ways to verify the integrity of a jumper wire is by using a multimeter.
So,
A multimeter is a device that helps in testing the jumper wires to check their condition. Let’s discuss how you can check your jumper wire with a multimeter.
Steps to check jumper wires
Here’s the step-by-step process for checking jumper wires.
1. Take a multimeter
Take out your multimeter and check its probes for any damage. Connect the probes, the black probe to common (COM), and the red probe into a jack marked with resistance symbol (Ω).
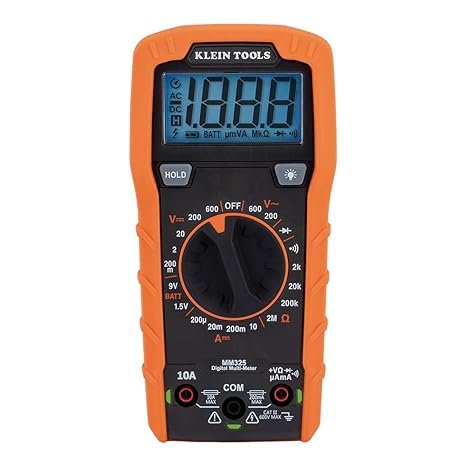
Turn on the multimeter.
2. Set the multimeter
Both the resistance and continuity modes are helpful when checking jumper wires.
Set the multimeter to continuity mode. This mode is usually indicated by a symbol resembling a sound wave or a series of parallel lines (≈) on the dial.
If your multimeter has no specific continuity setting, you can use the resistance (Ω) setting instead, though the continuity mode is more straightforward.
3. Test the multimeter
Ensure that your multimeter is working correctly before checking the jumper wire. Touch the metal tips of the red and black probes together.
The multimeter should emit a beep, indicating continuity. If it doesn’t beep, check your multimeter’s settings and battery.
In resistance mode, after touching the metal tips, the multimeter will show zero resistance.
4. Connection
Now you’re ready to test jumper wires. Place the probes at each end of the jumper wire; the orientation of the probes doesn’t matter.
5. Check the jumper wire
Now, you understand how you can identify the good and bad jumper wire.
If you’re using continuity mode, after touching the probes the multimeter will provide a beep sound, so it means the jumper wire is in good condition. If there is no beep sound the jumper wire is bad.
For resistance mode, the multimeter will display zero for good jumper wire and some resistance value for bad wire.
Safety measurements
Testing jumper wires with a multimeter is generally safe, but following proper safety precautions ensures that you and your equipment remain protected.
Here are some essential safety tips:
- Make sure your multimeter is in good condition, and inspect the probes.
- Read and understand the multimeter’s user manual before use.
- Perform the tests in a dry, clean, and well-lit area.
- Avoid working in damp conditions to reduce the risk of electric shock.
- Ensure that the probes do not touch each other or any other conductive materials while connected to the multimeter.
These are some simple and easy safety precautions to follow while testing the jumper wire. Keep these tips in mind.
Conclusion
Testing jumper wires is essential for the smooth operation of the circuit as it tells about good and bad jumper wires.
With multimeter wires, testing is a simple process as it has two modes: continuity and resistance mode for jumper wire testing.
The resistance mode is part of all multimeters, so if the continuity mode is absent, use the resistance mode.
When the multimeter is set to continuity mode, you will hear a beep sound for a good jumper wire and no sound for a bad wire. A multimeter will show zero resistance for good wire and some resistance value for bad wire.
Make sure your multimeter and its probes are accurate and not physically damaged.
Remember, regularly testing your jumper wires before use will help prevent unexpected issues and maintain the integrity of your electronic projects.
This is all about checking jumper wire using a multimeter, I hope it will be helpful while working with a circuit.
Thank you, and have a blessed life…