
In electronic design, creating a breadboard prototype is an essential step; it allows you to test or modify the circuit before the permanent design.
However, a messy breadboard can lead to confusion, mistakes, and difficulty in debugging.
Proper planning, modular design, and logical component placement ensure a neat breadboard prototype. Using color-coded, short wires reduces clutter, while regular maintenance keeps it functional. These practices enhance efficiency and clarity in prototyping.
In this article, we’ll discuss tips for keeping prototype clean.
Tips for neat and clean breadboard prototype
A prototype is the initial module of the electronic circuit that helps in testing and allows us to do modifications in circuit design.
Prototyping allows engineers and designers to identify and correct errors, test functionality, and refine the design based on real-world performance. Breadboard prototyping is one of the types of prototypes.
Breadboards are reusable and solderless boards that consist of different holes that are arranged in columns and rows. They provide quick experimental and testing platforms for beginner-level and complex-level circuits.
The prototype should be well-organized, neat, and clean for easy and quick debugging.
So, Here are detailed steps and tips to maintain a tidy and organized prototype:
1. Planning and organization
Planning and organization are really important before starting any project. Before starting work on a prototype, understand the circuit schematics.
Learn which component is represented by which symbol in the schematic. Ensure you’re using components with leg lengths compatible with your breadboard.
After that, plan where each component will be placed and how you will use the power rail of the breadboard.
Typically, the top and bottom rows are used for power (Vcc) and ground (GND) connections. Always plan how you will approach and assess the project, to begin with, the prototype.
2. Use wires with different colors
For quick identifications of different connections, the use of different color jumper wires is helpful.
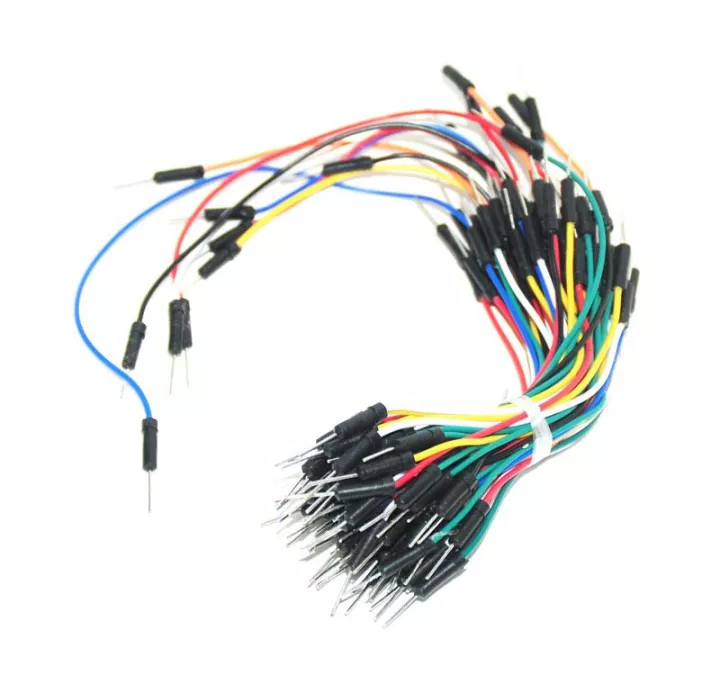
Assign specific colored wires to power, ground, and other connections. For example, assign red color wire for power, and black for ground.
Use different colors for signal wires (e.g., yellow for input signals, and green for output signals). This will not only help you with connection identifications but will also help you in easy debugging of the circuit.
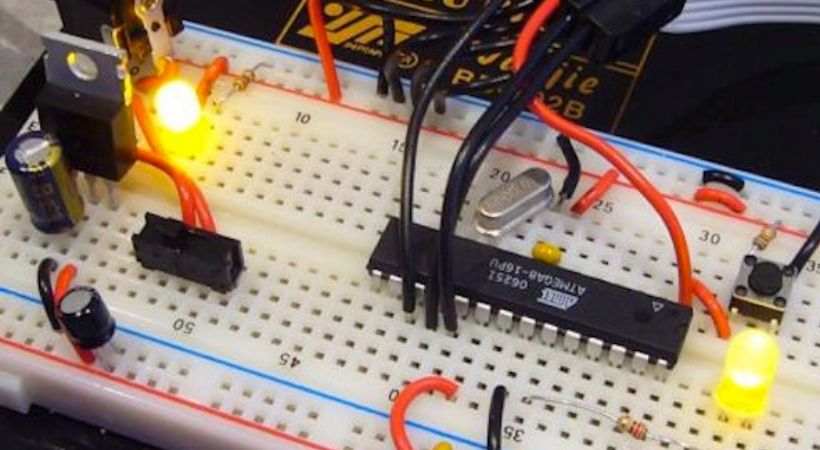
3. Keep wires short and tidy
The use of unnecessary long jumper wires makes the circuit look untidy and difficult to identify issues with the circuit.
Keep the length of the wires short, Measure and cut each wire to the exact length needed to reach its connection point.
If the short wires are in the prototype, it will make the prototype neat and presentable and each wire can be differentiated.
The use of short jumper wires not only reduces visual clutter but also minimizes resistance within the circuit, ensuring optimal performance.
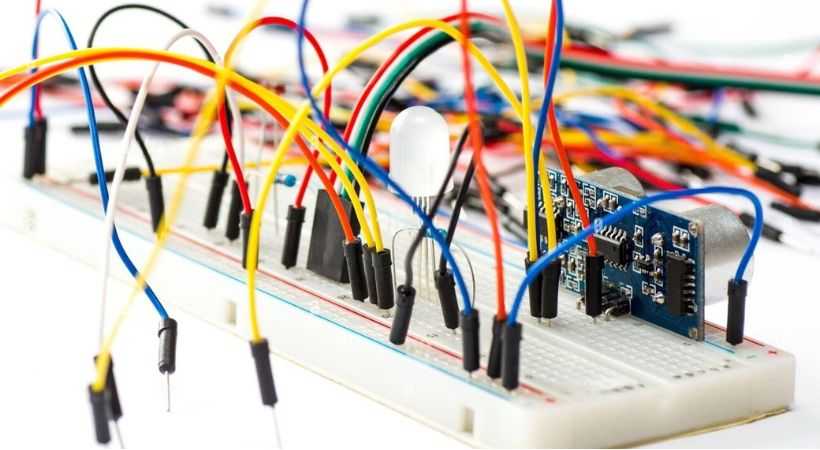
4. Neatly organized the components
Place components in a logical and orderly fashion. Do not place all components on a small portion of the breadboard.
Make sure that each component is in line with the grid on the breadboard. This facilitates the following of signals and connections.
To make it simpler to identify and troubleshoot each component, allow some gaps between various circuit components.
This neat organization of electronic components facilitates the neat and clean breadboard prototype.
5. Label the connections
Labeling the connections not only makes the prototype visually presentable but also makes it look neat and easily debugged.
If you feel, you will get confused about some connection in the future and so that you have to disturb the other connections, labeled these connections.
When in future you take out your prototype, you will know how the connections are made and will easily understand every connection.
6. Module approach
One of the effective approaches for prototyping maintenance is the module approach. It is most of the time used for complex projects.
In this method, the project is divided into breaking down the circuit into smaller, functional blocks or modules. A small breadboard can be used for each module and can connect in the end.
By adopting a modular approach, you can keep your breadboard prototype neat, clean, and highly organized, making it easier to manage and debug.
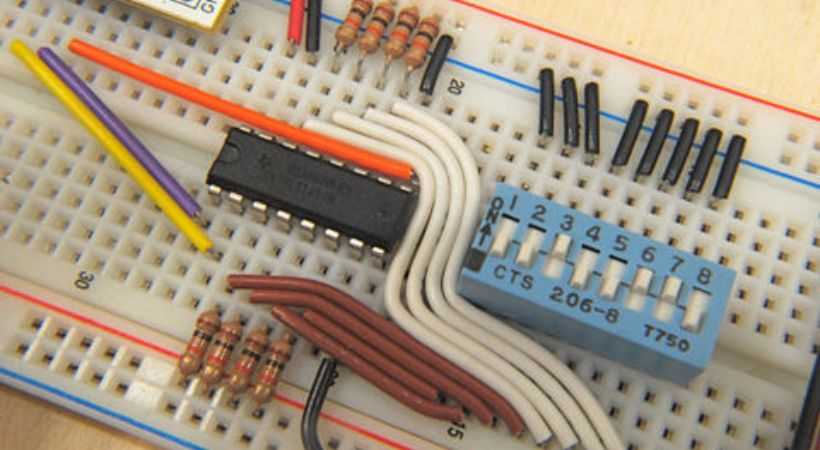
7. Logically connect wires
Strategic wire routing reduces mess and improves the readability of the prototype. This makes the prototype visually neat and clean.
Connect the wires logically with different components so that you can understand connections effortlessly.
Try to avoid wire crossings. If necessary, use different layers (e.g., running some wires on the top of the breadboard and others on the bottom) to keep wires from crossing.
8. Do regular maintenance
Maintenance is one of the essential steps for keeping the prototype clean. Do the regular maintenance of the project after building it.
Regularly inspect the breadboard for loose connections or misplaced wires. Use a multimeter to test continuity and ensure connections are secure and correct.
When not in use, store your prototype in a safe, clean environment. Use anti-static bags or containers to protect against dust and static damage.
These are some tips that will help you keep your prototype neat, clean, and presentable. A neat and clean prototype looks visually good and it is very easily debugged.
Conclusion
Prototyping is the initial stage of any circuit schematic, it allows to testing and modify the circuit schematic and understanding of its behaviors before permanent connections.
You have to keep the prototype neat, clean, and visually presentable so that you don’t get confused when making any modifications.
I will say always plan your project, I mean make a strategy that how will you approach the selected project. Understand the circuit schematics and plan the project.
Keeping your breadboard prototype neat and clean requires careful planning, organization, and regular maintenance. Do not use long-length wires for short-length connections, it makes the prototype messy.
Use of the different color wires helps in differentiating different connections, you can also label different connections and remember to properly store the prototype to keep it safe from dust and reside.
By following these detailed tips and practices, you can create a tidy, efficient, and functional prototype.
This will not only make the prototyping process more enjoyable but also significantly improve your ability to debug and refine your circuit design.
That’s it, this was all about tips for keeping prototype clean. I hope this will be helpful.
Thank you…
Other useful posts: